Usage
Installation
To use pandasai, first install it:
# Using poetry (recommended)
poetry add pandasai

# Using pip
pip install pandasai
Before installation, we recommend you create a virtual environment using your preferred choice of environment manager e.g Poetry, Pipenv, Conda, Virtualenv, Venv etc.
Optional dependencies
In order to keep the installation size small, pandasai does not include all the dependencies that it supports by default. You can install the extra dependencies by running the following command:
pip install pandasai[extra-dependency-name]
You can replace extra-dependency-name with any of the following:
google-ai: this extra dependency is required if you want to use Google PaLM as a language model.google-sheet: this extra dependency is required if you want to use Google Sheets as a data source.excel: this extra dependency is required if you want to use Excel files as a data source.modin: this extra dependency is required if you want to use Modin dataframes as a data source.polars: this extra dependency is required if you want to use Polars dataframes as a data source.langchain: this extra dependency is required if you want to support the LangChain LLMs.numpy: this extra dependency is required if you want to support numpy.ggplot: this extra dependency is required if you want to support ggplot for plotting.seaborn: this extra dependency is required if you want to support seaborn for plotting.plotly: this extra dependency is required if you want to support plotly for plotting.statsmodels: this extra dependency is required if you want to support statsmodels.scikit-learn: this extra dependency is required if you want to support scikit-learn.streamlit: this extra dependency is required if you want to support streamlit.ibm-watsonx-ai: this extra dependency is required if you want to use IBM watsonx.ai as a language model
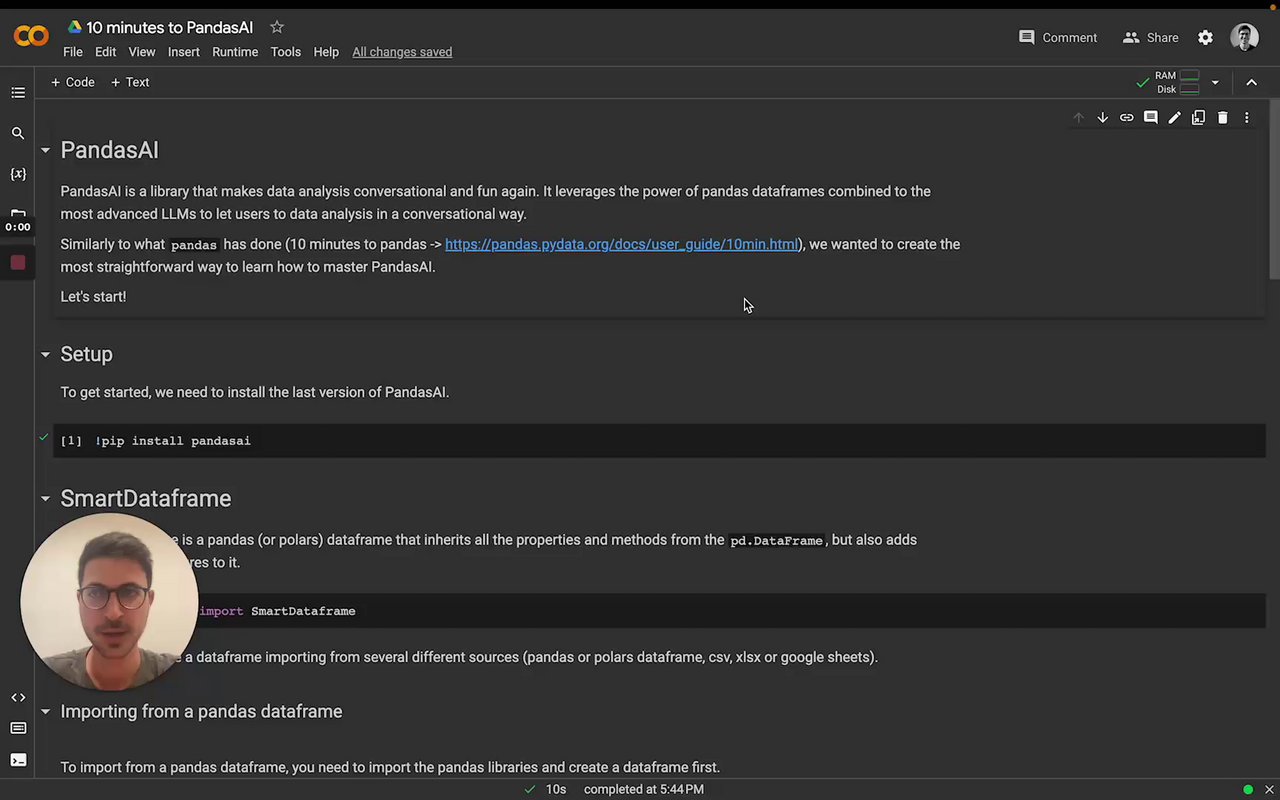
SmartDataframe
The SmartDataframe class is the main class of pandasai. It is used to interact with a single dataframe. Below is simple example to get started with pandasai.
import os
import pandas as pd
from pandasai import SmartDataframe

# Sample DataFrame
sales_by_country = pd.DataFrame({
    "country": ["United States", "United Kingdom", "France", "Germany", "Italy", "Spain", "Canada", "Australia", "Japan", "China"],
    "sales": [5000, 3200, 2900, 4100, 2300, 2100, 2500, 2600, 4500, 7000]
})

# By default, unless you choose a different LLM, it will use BambooLLM.
# You can get your free API key signing up at https://pandabi.ai (you can also configure it in your .env file)
os.environ["PANDASAI_API_KEY"] = "YOUR_API_KEY"

df = SmartDataframe(sales_by_country)
df.chat('Which are the top 5 countries by sales?')
# Output: China, United States, Japan, Germany, Australia
If you want to learn more about the SmartDataframe class, check out this video:
Hot to generate a BambooLLM API Token
In order to use BambooLLM, you need to generate an API token. Follow these simple steps to generate a token with PandaBI:
- Go to https://pandabi.ai and signup with your email address or connect your Google Account.
- Go to the API section on the settings page.
- Select Create new API key.
How to generate an OpenAI API Token
In order to use the OpenAI language model, users are required to generate a token. Follow these simple steps to generate a token with openai:
- Go to https://openai.com/api/ and signup with your email address or connect your Google Account.
- Go to View API Keys on left side of your Personal Account Settings.
- Select Create new Secret key.
The API access to OPENAI is a paid service. You have to set up billing. Make sure you read the Pricing information before experimenting.
Passing name and description for a dataframe
Sometimes, in order to help the LLM to work better, you might want to pass a name and a description of the dataframe. You can do this as follows:
df = SmartDataframe(df, name="My DataFrame", description="Brief description of what the dataframe contains")
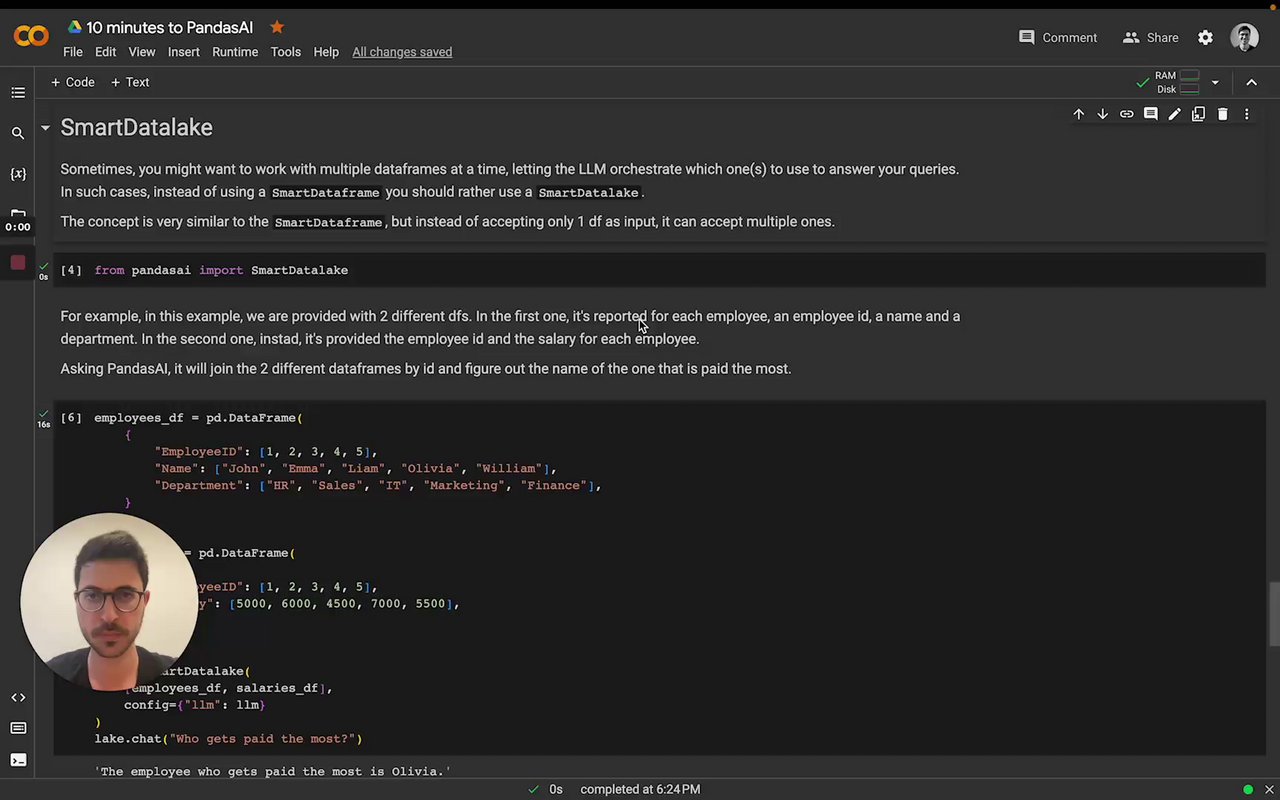
SmartDatalake
PandasAI also supports queries with multiple dataframes. To perform such queries, you can use a SmartDatalake instead of a SmartDataframe.
Similarly to a SmartDataframe, you can instantiate a SmartDatalake as follows:
import os
import pandas as pd
from pandasai import SmartDatalake

employees_data = {
    'EmployeeID': [1, 2, 3, 4, 5],
    'Name': ['John', 'Emma', 'Liam', 'Olivia', 'William'],
    'Department': ['HR', 'Sales', 'IT', 'Marketing', 'Finance']
}

salaries_data = {
    'EmployeeID': [1, 2, 3, 4, 5],
    'Salary': [5000, 6000, 4500, 7000, 5500]
}

employees_df = pd.DataFrame(employees_data)
salaries_df = pd.DataFrame(salaries_data)

# By default, unless you choose a different LLM, it will use BambooLLM.
# You can get your free API key signing up at https://pandabi.ai (you can also configure it in your .env file)
os.environ["PANDASAI_API_KEY"] = "YOUR_API_KEY"

lake = SmartDatalake([employees_df, salaries_df])
lake.chat("Who gets paid the most?")
# Output: Olivia gets paid the most
PandasAI will automatically figure out which dataframe or dataframes are relevant to the query and will use only those dataframes to answer the query.
Agent
While a SmartDataframe or a SmartDatalake can be used to answer a single query and are meant to be used in a single session and for exploratory data analysis, an agent can be used for multi-turn conversations.
To instantiate an agent, you can use the following code:
import os
from pandasai import Agent
import pandas as pd

# Sample DataFrames
sales_by_country = pd.DataFrame({
    "country": ["United States", "United Kingdom", "France", "Germany", "Italy", "Spain", "Canada", "Australia", "Japan", "China"],
    "sales": [5000, 3200, 2900, 4100, 2300, 2100, 2500, 2600, 4500, 7000],
    "deals_opened": [142, 80, 70, 90, 60, 50, 40, 30, 110, 120],
    "deals_closed": [120, 70, 60, 80, 50, 40, 30, 20, 100, 110]
})


# By default, unless you choose a different LLM, it will use BambooLLM.
# You can get your free API key signing up at https://pandabi.ai (you can also configure it in your .env file)
os.environ["PANDASAI_API_KEY"] = "YOUR_API_KEY"

agent = Agent(sales_by_country)
agent.chat('Which are the top 5 countries by sales?')
# Output: China, United States, Japan, Germany, Australia
Contrary to a SmartDataframe or a SmartDatalake, an agent will keep track of the state of the conversation and will be able to answer multi-turn conversations. For example:
agent.chat('And which one has the most deals?')
# Output: United States has the most deals
Clarification questions
An agent will also be able to ask clarification questions if it does not have enough information to answer the query. For example:
agent.clarification_question('What is the GDP of the United States?')
this will return up to 3 clarification questions that the agent can ask the user to get more information to answer the query.
Explanation
An agent will also be able to explain the answer given to the user. For example:
response = agent.chat('What is the GDP of the United States?')
explanation = agent.explain()

print("The answer is", response)
print("The explanation is", explanation)
Rephrase Question
Rephrase question to get accurate and comprehensive response from the model. For example:
rephrased_query = agent.rephrase_query('What is the GDP of the United States?')

print("The rephrased query is", rephrased_query)
Config
To customize PandasAI's SmartDataframe, you can either pass a config object with specific settings upon instantiation or modify the pandasai.json file in your project's root. The latter serves as the default configuration but can be overridden by directly specifying settings in the config object at creation. This approach ensures flexibility and precision in how PandasAI handles your data.
Settings:
llm: the LLM to use. You can pass an instance of an LLM or the name of an LLM. You can use one of the LLMs supported. You can find more information about LLMs here.llm_options: the options to use for the LLM (for example the api token, etc). You can find more information about the settings here.save_logs: whether to save the logs of the LLM. Defaults toTrue. You will find the logs in thepandasai.logfile in the root of your project.verbose: whether to print the logs in the console as PandasAI is executed. Defaults toFalse.enforce_privacy: whether to enforce privacy. Defaults toFalse. If set toTrue, PandasAI will not send any data to the LLM, but only the metadata. By default, PandasAI will send 5 samples that are anonymized to improve the accuracy of the results.save_charts: whether to save the charts generated by PandasAI. Defaults toFalse. You will find the charts in the root of your project or in the path specified bysave_charts_path.save_charts_path: the path where to save the charts. Defaults toexports/charts/. You can use this setting to override the default path.open_charts: whether to open the chart during parsing of the response from the LLM. Defaults toTrue. You can completely disable displaying of charts by setting this option toFalse.enable_cache: whether to enable caching. Defaults toTrue. If set toTrue, PandasAI will cache the results of the LLM to improve the response time. If set toFalse, PandasAI will always call the LLM.use_error_correction_framework: whether to use the error correction framework. Defaults toTrue. If set toTrue, PandasAI will try to correct the errors in the code generated by the LLM with further calls to the LLM. If set toFalse, PandasAI will not try to correct the errors in the code generated by the LLM.max_retries: the maximum number of retries to use when using the error correction framework. Defaults to3. You can use this setting to override the default number of retries.custom_whitelisted_dependencies: the custom whitelisted dependencies to use. Defaults to{}. You can use this setting to override the default custom whitelisted dependencies. You can find more information about custom whitelisted dependencies here.
Demo in Google Colab
Try out PandasAI in your browser:
Other Examples
You can find all the other examples here.